
Categories
New Blog
Troubleshooting Water Cooled Screw Chillers: Common Faults and Fixes
You might have high-pressure trips, refrigerant leaks, or compressor overload when using a water cooled screw chiller. Fast troubleshooting helps lower downtime and expensive repairs. Regular checks and preventive maintenance help find problems early. Knowing your water cooled chiller well helps you see issues before they get worse.

High pressure alarms can happen in your water cooled screw chiller. Air or other gases in the system can cause this. Too much refrigerant or a dirty condenser can also be the reason. If the cooling water is too warm, pressure goes up fast. Low water flow makes pressure rise too. Dirt in pipes or a broken water pump can cause high pressure faults. To fix these, clean the condenser and check water flow. Adjust the refrigerant level if needed.
Tip:If you see high pressure, always look for dirt on the condenser surface.
Low pressure is another problem you might see. This can happen if there is not enough refrigerant or if there is a leak. Cold weather can make water and oil colder, causing low pressure alarms. Blocked filters or pipes can also lead to this. A bad expansion valve or electrical relay can be the cause too. Check for leaks and clean the filters. Make sure all valves are working right.
Water flow loss is a common fault in water cooled chillers. This happens if the water pump stops or pipes get blocked. Air in the system can also cause it. Low water flow can make the chiller shut down or work poorly. Always check pumps and pipes for blockages or leaks.
Refrigerant leaks are serious in water cooled screw chillers. Leaks make cooling worse and use more energy. Some refrigerants can hurt the environment if they escape. Check for leaks often and fix them fast. This helps avoid high costs and protects the environment.
Oil system issues can harm your chiller. Oil leaks, dirty oil, low oil pressure, or hot oil are common faults. These problems lower lubrication and can make the compressor overheat or wear out. Check oil levels often and change oil when needed. Clean or replace oil filters as well.
Electrical problems often cause chiller faults. Loose wires, bad relays, or blown fuses can stop the chiller. If your chiller will not start, check the electrical panel first. Make sure all wires are tight and replace any broken parts.
Strange noises or vibration can mean mechanical problems. Loose screws, unbalanced fans, or pipes not fixed well can cause rattling or banging. If you hear loud or repeating noises, look for loose parts or debris. Finding these problems early helps stop bigger faults and keeps your chiller working well.
|
Fault Type |
Common Causes of Chiller Problems |
Quick Fixes |
|---|---|---|
|
High Pressure |
Dirty condenser, low water flow, air |
Clean condenser, check water flow |
|
Low Pressure |
Leaks, blockages, cold water |
Fix leaks, clean filters |
|
Water Flow Loss |
Pump failure, pipe blockage |
Inspect pumps, clear blockages |
|
Refrigerant Leaks |
Damaged pipes, loose fittings |
Repair leaks, recharge refrigerant |
|
Oil System Issues |
Low oil, dirty oil, leaks |
Change oil, fix leaks |
|
Electrical Problems |
Loose wires, bad relays, blown fuses |
Tighten wires, replace parts |
|
Noise and Vibration |
Loose parts, unbalanced fans, bad mounts |
Tighten, balance, secure parts |
Pressure problems in your chiller can cause shutdowns or poor cooling. You can follow these steps to find and fix pressure faults:
Check all valves. Make sure refrigerant valves are open. Isolation valves should stay closed unless you need them for repairs.
Look at the water flow. The water pumps must run well. Both the condenser and evaporator need enough water flow to keep the chiller cool.
Inspect the condenser coils. Dirt or debris can block heat transfer and raise pressure.
Watch the condenser fan. The fan should spin in the right direction and work without stopping.
Use the chiller manual. Find alarm codes and follow the troubleshooting methods listed.
If you see high pressure alarms, check for air or non-condensable gases in the system.
Ask a qualified technician to test high pressure switches, contactors, and relays if you cannot find the problem.
Tip:Clean the condenser coils often. This simple step prevents many pressure issues.
Water flow problems can stop your chiller or make it noisy. Use these troubleshooting methods to restore proper flow:
Read all safety instructions before you start.
Unplug the chiller and drain the water. Remove hoses and tilt the unit to empty it.
Take out the cartridge filter. Soak it in water for two minutes, then put it back.
Check every hose and fitting for air leaks. Use Teflon tape and tighten clamps to stop air from getting in.
Prime the system. Disconnect the water inlet hose, lift it up, and pour water until no bubbles come out of the outlet.
Start the chiller for one minute. Watch for steady water flow and no bubbles. Repeat priming if needed.
You can flush the system with a garden hose to clear air pockets.
|
Problem |
Possible Cause |
Recommended Solution |
|---|---|---|
|
Low water flow |
Dirty or clogged filter |
Clean or replace the filter |
|
Low water flow |
Air lock |
Repeat priming steps |
|
Chiller making noise |
Air in water line |
Check hoses and prime again |
Refrigerant faults can cause poor cooling or strange noises. Follow these troubleshooting methods to find the cause:
Watch for signs like weak cooling, ice on coils, or odd sounds.
Look for leaks or airflow problems around the chiller.
Use manifold gauges to check refrigerant pressures.
Test for leaks with an electronic detector or UV dye.
Inspect the expansion valve for blockages. Make sure superheat settings are correct.
Check the evaporator coil for dirt or ice. Good airflow is important.
Look at the filter drier and pipes for restrictions.
Measure suction and discharge pressures at the compressor. Listen for odd noises.
Check sensor readings. Replace or calibrate sensors if they are wrong.
Do regular maintenance. Clean coils and filters, and check for leaks often.
Safety Alert:Always use the right recovery cylinder for each refrigerant type. Never overfill cylinders. Use EPA-certified tools and keep records of all refrigerant handling.
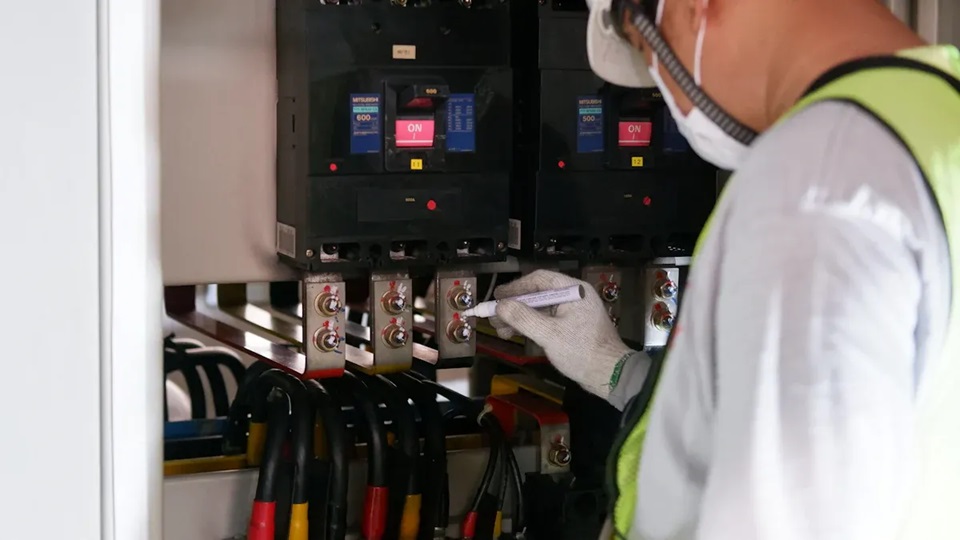
If your chiller cannot start or stops working, electrical faults may be the cause. Try these troubleshooting methods:
Open the electrical panel and look for loose wires or burned parts.
Check all relays, fuses, and contactors. Replace any that look damaged.
Make sure the power supply is correct and all phases are connected.
Use a multimeter to test voltage and current at key points.
If you find a problem you cannot fix, call a licensed electrician.
Tip:Always close the electrical panel after checks to keep dust and moisture out.
Strange noises or shaking can mean loose or broken parts. Use these steps to troubleshoot:
Listen for rattling, banging, or humming sounds.
Check all screws, bolts, and mounts. Tighten any that are loose.
Inspect fans and pumps for balance. Replace or repair if needed.
Look at pipes and hoses. Secure them to stop vibration.
If noise continues, ask a technician to check for deeper mechanical issues.
You can use this checklist for quick chiller troubleshooting. It helps you spot problems early and decide when to call a professional.
Inspect the mechanical room. Keep it clean and safe.
Check the electrical panel. Make sure it is closed and dry.
Look at all pipes for leaks or corrosion.
Read temperature gauges. Compare setpoint, return, supply, and condenser water temperatures.
Watch the chiller run. It should not short cycle or make loud noises.
Test water quality. Look for rust or scale.
Check oil pressure and temperature. Look for oil leaks.
Make sure all wiring is tight and fuses are good.
Use the chiller’s fault codes and self-diagnosis features.
If you find leaks, slow cooling, or loud noise that you cannot fix, call a professional.
Remember:Regular chiller troubleshooting and maintenance keep your water cooled screw chiller running longer and more efficiently.
You can keep your chiller working well with regular care.
Cleaning filters and checking water flow help stop chiller problems.
Checking fan motors and sensors often helps avoid big repairs.
Running tests makes sure your chiller works well.
|
Maintenance Activity |
Approximate Cost |
Energy/Operational Savings |
|---|---|---|
|
Tube Cleaning |
$5,000 |
Saves more than $15,000 on energy each year |
|
Compressor Overhaul |
$20,000 |
Stops $50,000 in lost work time |
Taking care of your chiller saves money and helps it last longer. Always use the troubleshooting checklist when you find a problem. If you cannot fix the chiller, call an expert. Regular care and checks help protect your chiller.


Friendly Links :
www.dyyseo.com en
en es
es